Track & show page views with Next.js and Google Analytics
Jump straight to the solution and avoid the intro talk.
When I initially built this website I decided to use something different to Google Analytics for the tracking of my visitors.
At the moment I decided to use HappyKit's Analytics solution, however, it was not really compatible with Next.js' Internationalized Routing, since it was not actively tracking some of the dynamic routes, even though I highly recommend to take a look at the solution, the developer has some new features in the roadmap.
After exploring some options, I found out about GoatCounter which turned out to be a really nice and privacy-focused solution, I decided to give it a try and even used it to display the page views in my blog posts using their API.
However, I had a concern, the data retention window is only 6 months and since I wanted to use the analytics engine as the single source of truth for the page views counters, and run this website in the free tier I decided to ditch it and explore other options (again, please go and take a look at the amazing job their team is doing, totally worth it).
So, I was there, wondering which option should I use, so as a final trial before getting back to Google Analytics, I coded a custom page views tracker using API routes and FaunaDB. It was a really interesting exercise however it was getting a bit too complex to deal with, especially when I wanted to have real page view counters and not just a counter that would increment every time the URL was hit, even if it was just a refresh.
It's important to mention that all this jumping around different tracking solutions definitely made me lose the page views that I already had since some were registered in one of the analytics platforms and some in the others.
So, after all those tries, I ended up getting back to Google Analytics, however this time there was a challenge in the plan, I wanted to pull the page views from Google Analytics using Google APIs.
Track page views with Google Analytics
I must mention that this approach is highly inspired by the next-ga package and Next.js' experimental plugin for Google Analytics.
Let's start by adding the code required to actually track page views when someone visits a page. In order to do that, there are some libraries out there that offer a "simple solution", but I wanted to have complete control over the code.
First, create a small module in the route of your preference that will basically expose three things: the Google Analytics tracking ID, a pageview method, and an event method. In my case, I created it inside the top-level lib folder.
export const GA_TRACKING_ID = 'UA-XXXXXXXXX-X';

export const pageview = (url, title) => {
  window.gtag('config', GA_TRACKING_ID, {
    page_location: url,
    page_title: title,
  });
};

export const event = ({ action, category, label, value }) => {
  window.gtag('event', action, {
    event_category: category,
    event_label: label,
    value: value,
  });
};
Secondly, let's modify the _document.js file inside the pages directory to include the Google Analytics JavaScript snippet.
import Document, { Html, Head, Main, NextScript } from 'next/document';
import { GA_TRACKING_ID } from '@/lib/gtag';

class MyDocument extends Document {
  render() {
    return (
      <Html>
        <Head>
          ...
          {/* Global Site Tag (gtag.js) - Google Analytics */}
          <script
            async
            src={`https://www.googletagmanager.com/gtag/js?id=${GA_TRACKING_ID}`}
          />
          <script
            dangerouslySetInnerHTML={{
              __html: `
                window.dataLayer = window.dataLayer || [];
                function gtag(){dataLayer.push(arguments);}
                gtag('js', new Date());
                gtag('config', '${GA_TRACKING_ID}');
              `,
            }}
          />
          ...
        </Head>
        <body>
          <Main />
          <NextScript />
        </body>
      </Html>
    );
  }
}

export default MyDocument;
This asynchronously injects the snippet that initializes Google Analytics. This helps to keep a good performance, which is one of the most common concerns when including Google Analytics in a website.
Third, we need to track a page view each time a router transitions, in order to achieve this, we can leverage on Next.js' Router itself to execute a callback function each time the route changes, the event routeChangeComplete is the one we want to use in this case. Let's update _app.js with the corresponding code:
import { useEffect } from 'react';
import { pageview } from '@/lib/gtag';

const MyApp = ({ Component, pageProps, router }) => {
  useEffect(() => {
    const handleRouteChange = url => {
      pageview(url, document.title);
    };
    router.events.on('routeChangeComplete', handleRouteChange);
    return () => {
      router.events.off('routeChangeComplete', handleRouteChange);
    };
  }, []);

  return (
    <Component {...pageProps} />
  );
};

export default MyApp;
With just those few lines of code, the website will track page views from now on, if you noticed the event method in lib/gtag.js, it is a method that can be used to track specific user events like the submission of a form for example.
Display a page views counter with data from Google Analytics
At this point the page view tracking is working, so I'm ready to add the page views counter to my blog pages. I'll take advantage of Next.js' API Routes for this.
Let's start by creating a new file inside the pages/api path:
export default async (req, res) => {
  const startDate = req.query.startDate || '2020-01-01';
  const slug = req.query.slug;

  try {
    res.status(200).json({
      pageViews: 0,
    });
  } catch (err) {
    return res.status(500).json({ error: err.message });
  }
}
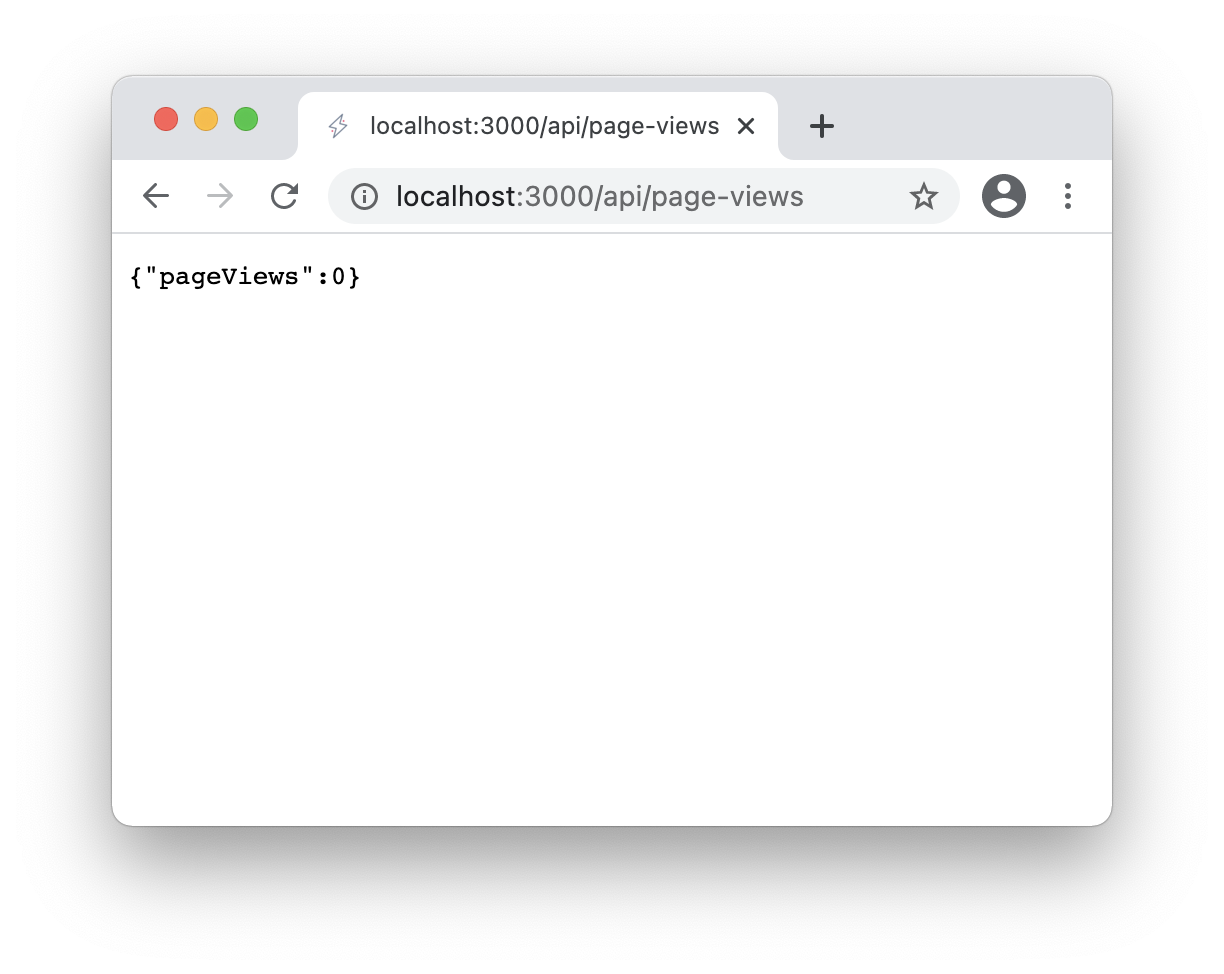
This handler will expect two parameters in the query string startDate and slug which will be used for filtering the results.
If you open the URL http://localhost:3000/api/page-views in your browser you will see it responding with the provided JSON response.
Now, in order to connect to Google Analytics API and get the page views for a specific URL we need to install Google APIs Node.js Client.
npm install googleapis --save
# or
yarn add googleapis
Before connecting to Google APIs we need to gain access, so follow the next steps:
- Go to the Google Developer Console.
- Create a new project.
- Go to the Credentials section, select "Create Credentials" and choose "Service Account".
- Go into the Service Account details and expand the section "Show domain-wide delegation" and check the option "Enable G Suite Domain-wide Delegation".
- Then click on "Add Key" (below in that same page), choose JSON and click "Create".
- Save the JSON file, you will need it later.
- Hit the "Save" button at the bottom of the page.
- Navigate back to the project home and click on "+ Enable APIs and Services".
- Look for "Google Analytics API" and enable it.
- Now go the Google Analytics Dashboard.
- Once you've selected the right Analytics account, go to the Admin panel.
- Click on "View User Management".
- Add a new user, the email address is the one you can find in the field
client_emailof the JSON file you saved before.
OK, let's configure our environment variables with the secrets keys.
Go ahead and create a .env.local file in the root of your project.
GOOGLE_ANALYTICS_VIEW_ID=123456789
GOOGLE_CLIENT_EMAIL=service-account@project.iam.gserviceaccount.com
GOOGLE_CLIENT_ID=1234567890
GOOGLE_PRIVATE_KEY="-----BEGIN PRIVATE KEY-----\nR2D2=\n-----END PRIVATE KEY-----\n"
GOOGLE_ANALYTICS_VIEW_ID is the View ID that you can find in the Google Analytics Admin Panel (above "View User Management").
The other values are in the JSON file you saved in the step #3 above:
GOOGLE_CLIENT_EMAIL->client_emailGOOGLE_CLIENT_ID->client_idGOOGLE_PRIVATE_KEY->private_key
At this point you will be able to access this values by using process.env.GOOGLE_CLIENT_EMAIL which is possible thanks to the automagic configuration of Next.js' Environment Variables.
Now it's time to connect our API Route to the Analytics API.
Import the googleapis package and create the credentials:
import { google } from 'googleapis';

export default async (req, res) => {
  const startDate = req.query.startDate || '2020-01-01';
  const slug = req.query.slug;

  try {
    const auth = new google.auth.GoogleAuth({
      credentials: {
        client_email: process.env.GOOGLE_CLIENT_EMAIL,
        client_id: process.env.GOOGLE_CLIENT_ID,
        private_key: process.env.GOOGLE_PRIVATE_KEY,
      },
      scopes: ['https://www.googleapis.com/auth/analytics.readonly'],
    });

    res.status(200).json({
      pageViews: 0,
    });
  } catch (err) {
    return res.status(500).json({ error: err.message });
  }
}
Next, instantiate Google Analytics v3 client and perform the call to get the metrics.
import { google } from 'googleapis';

export default async (req, res) => {
  const startDate = req.query.startDate || '2020-01-01';
  const slug = req.query.slug;

  try {
    ...
    const analytics = google.analytics({
      auth,
      version: 'v3',
    });

    const response = await analytics.data.ga.get({
      'end-date': 'today',
      ids: `ga:${process.env.GOOGLE_ANALYTICS_VIEW_ID}`,
      metrics: 'ga:pageviews',
      dimensions: 'ga:pagePath',
      filters: `ga:pagePath==${slug}`,
      'start-date': startDate,
    });

    const pageViews = response?.data?.totalsForAllResults['ga:pageviews'];

    return res.status(200).json({
      pageViews,
    });
  } catch (err) {
    return res.status(500).json({ error: err.message });
  }
}
A few observations here:
- The
filtersparameter restricts the results to the specific slug URL. - The
startDateparameter, if not provided, will be set to2020-01-01to retrieve data since that date (prior to the launch of my blog).
Go ahead and open an URL like http://localhost:3000/api/page-views?slug=/blog/hello-world, in this case I'm providing a valid and existing slug, which gives me the following result:
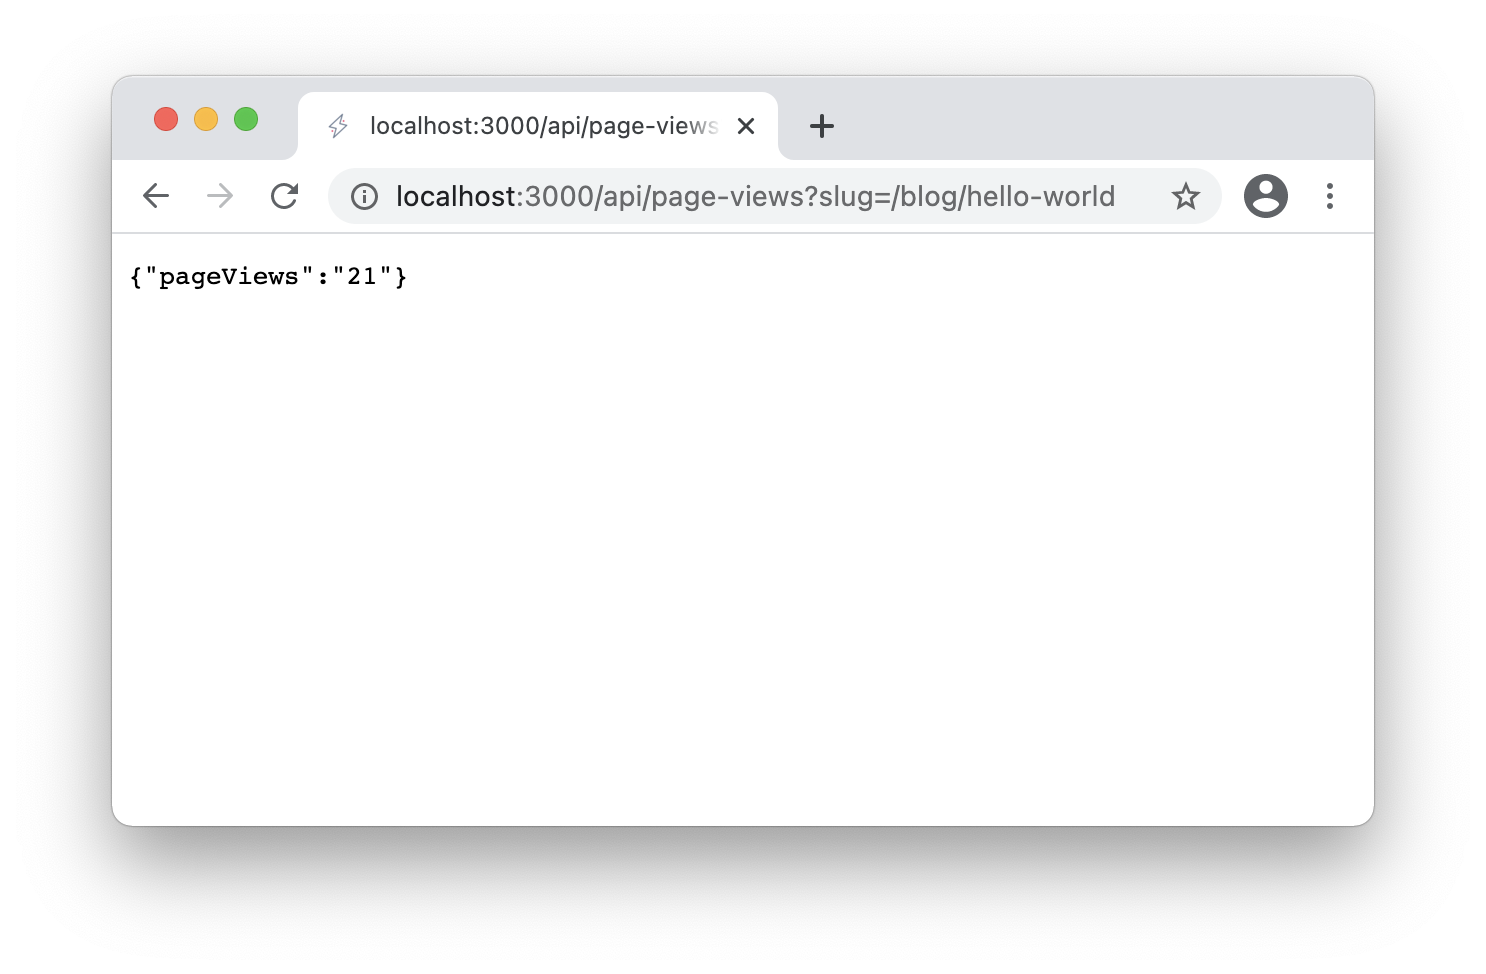
Great!
Now it's time to connect our blog post page to the API endpoint and display the views counter. I really like the simplicity that SWR provides when working with hooks and API calls, you can install it or use your own approach.
npm install swr --save
# or
yarn add swr
My blog post page lives under pages/blog/[slug].js, here are the required changes to display the counter:
...
import useSWR from 'swr';

export default ({ mdxSource, frontMatter }) => {
  ...
  const { data } = useSWR(
    `/api/page-views?slug=${encodeURIComponent(localizedSlug)}`,
    async url => {
      const res = await fetch(url);
      return res.json();
    },
    { revalidateOnFocus: false }
  );
  const views = data?.pageViews || 0;

  return (
    <>
      ...
      <div>{views} views</div>
      ...
    </>
  );
}
Aaaaaand, that's it! 🎉

Since the call to the API endpoint occurs in the client, each time a blog post page is accessed it will display fresh data for the page views count, coming directly from Google Analytics API.
I sincerely hope you enjoyed this post, please share it with your friends. 😁
Thanks for reading me, and see you in the next post. ⚡️